All the resources you need to create your perfect vintage home
REPAIR PLASTER WALLS OR REPLACE WITH NEW DRYWALL?

Plaster in Historic Homes
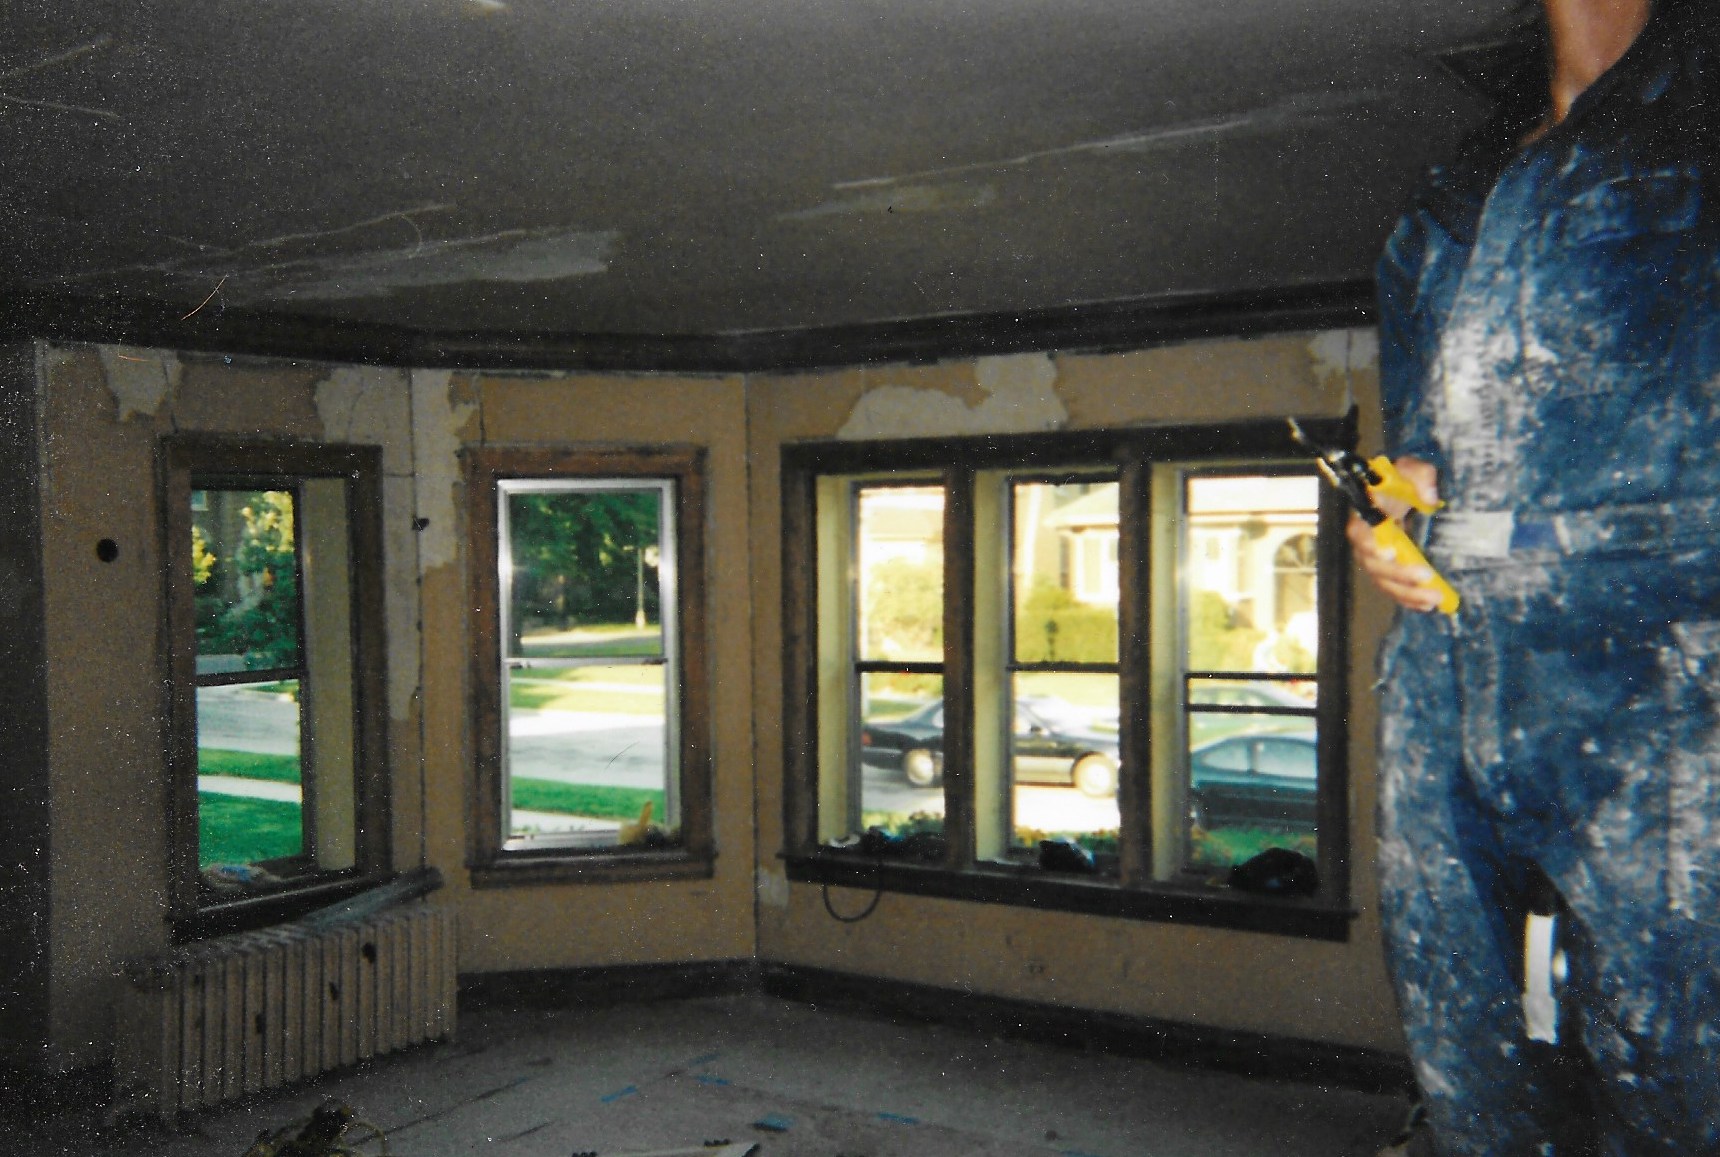
The evaluation of historic homes for rehab potential is a complex process and many questions come to mind. One of our key questions is “Are the walls and ceilings original lath and plaster or are they drywall?”. We prefer original lath and plaster instead of the more common dry-wall option.

During a historical renovation timing is often critical and the rehabber makes a hasty decision to demolish all existing lath and plaster walls and ceilings. The main advantage is free access to all mechanicals. In review, this is definitely one of the upsides to the drywall option, but, there are also drawbacks to this approach. In our renovation projects, we take care to maintain original wood lath and plaster wherever we can. We demolish original lath and plaster in isolated areas to gain access to mechanicals. Additionally , we remove walls when changing the existing lay-out of the space. You can see an example in this Victorian master bath renovation. Finally, in a cases where plaster repair is difficult (ie most commonly large areas where plaster has detached from the lathe and is flexing under pressure), we may lean towards demolition.
Plaster walls versus drywall: Benefits of Plaster
Our preference towards original lathe and plaster is based upon the below, perceived benefits:
- Increased life and longevity
- Improved sound insulation properties
- Improved thermal insulation properties
- Increased fire retardancy
- Increased air circulation and resistance to mold
- Maintenance of original character and wall/ceiling texture
- Increased likelihood of original moldings
- Tell-tale signs of original fixtures
- Reduced risk of lead based paint exposure
Plaster Installation and Repair – a lost art
A quick scan of your local yellow pages will offer proof that plastering has become a lost art. Above all, this results from the wide-scale utilization of drywall in both new construction and remodeling. As the expense of plaster artisans is high, a common misconception has developed that plaster repair is difficult and expensive. In actuality many of the common plaster repairs are both simple and inexpensive and require only a bit of time and patience. Some of the most common and easily repairable plaster issues include:
- Cracks
- Holes
- Delamination of finish coat
- Uneven wall surfaces
- Localized delamination from lathe
This post contains affiliate links. If you make a purchase, I will receive a small percentage of the seller’s profit at no additional cost to you. Please see my Privacy Policy and Terms of Use for additional information.
How to Repair Cracks in Plaster
Of these challenges, simple cracking is by far the most common and aesthetically disturbing issue. Simple cracking often leads to the decision to demolish in lieu of repair. In actuality, cracks are the simplest plaster repair and we make repairs very economically, with a bit of sweat equity. The repair itself requires very simple supplies:
- Box of gypsum or lime plaster (we prefer lime plaster for local repairs, as it sets up a bit slower than gypsum plaster and is more forgiving)
- Painter’s tool with a crack widener (ie pointy/sharpened end on one side of the tool)
- Clean joint compound knife


The actual process for repairing a cracked plaster wall follows:
- Step 1: Open up the crack to an ~1/8” notch with the crack widener section of your painting tool.
- Step 2: Bevel the back side of your notch (typically half the thickness of the adjoining plaster). The crack widener of your painting tool will work. However, we have found that the pointy end of a can opener is ideal for this process. Beveling will create a key way and will prevent your repair from popping and reduce the likelihood of future cracking.
- Step 3: Apply the first coat of plaster. Press securely into both the lath and the key way notch in the adjoining plaster. Recess the first coat ~ 1/16”-1/8” below the adjoining wall surfaces. The longer the drying process for the first coat, the better (we normally allow at least a week). Do not be concerned is cracks appear in the first coat as this can happen, especially for wide/deep repairs.
- Step 4: Apply the finish coat. Scrape/wipe clean and level with the adjoining wall, using the clean joint compound knife. Minimize sanding, as plaster is very hard and the process is time consuming. Also, it is more difficult to match texture after sanding.
- Step 5: Rub/dab the repair with cloth, while still tacky. Try different types of cloth (ie from cotton to burlap), to match the surrounding texture. Test different options to find the best match before starting your repairs.

Replacing removed fixtures
While inspecting original lath and plaster walls for damage, we are also closely inspecting for tell-tale signs of previous repairs. We look for square, rectangular, or round shadows on the wall/ceiling as these often indicate an original detail/fixture which has been removed and covered up. One of the most common “cover-ups” in a historical home is the removal of wall sconces. Tell-tale signs of these “cover-ups” often provide the opportunity to restore hidden, original features during your renovation project.

Plaster walls versus drywall?
With a bit of up-front planning and care that it is possible to salvage many original lath and plaster walls. A bit of sweat equity in this area can save the major expense of dry walling large areas. It is also a great way to maintain the original character of your historical sanctuary.


Recent Comments